How to Check and Set Tire Pressure (Door Placard, Not Sidewall)
In this guide
To check tire pressure, park for at least three hours, find the recommended cold pressure on the placard in your driver’s door jamb, press a gauge onto each valve stem, then add or let out air until every tire, including the spare, matches the placard. Do not use the number on the tire sidewall; that is the tire’s maximum, not your vehicle’s target. Do it once a month and before long trips. This guide is built from the federal placard and TPMS rules, FuelEconomy.gov and tire-maker guidance read on 2026-10-28.
Disclosure: As an Amazon Associate I earn from qualifying purchases. Some brands featured below pay a bonus commission through Amazon Creator Connections. See /disclosure/.
Step 1: find the right number
The correct pressure is set by the vehicle maker for your car’s weight and handling, and it is printed on the tire and loading information placard. Federal Motor Vehicle Safety Standard 110 (49 CFR 571.110, S4.3) requires that placard to show the manufacturer’s recommended cold inflation pressure for the front, rear and spare tires, along with the original tire size, and to be permanently attached to the driver’s side B-pillar. If the pillar won’t work, the rule moves it to the rear edge of the driver’s door or another spot next to the driver’s seat.
| Where to look | What you will find |
|---|---|
| Driver’s door jamb (B-pillar) | The placard: front, rear and spare cold pressures, tire size |
| Rear edge of driver’s door | Placard on vehicles without a usable pillar |
| Owner’s manual | Same figures, plus load and towing notes |
| Glove box or fuel door (some vehicles) | A duplicate pressure label |
| Tire sidewall | Maximum pressure. Not the target. |
FuelEconomy.gov puts it plainly: the proper pressure is usually on a sticker in the driver’s door jamb or glove box and in your owner’s manual, and you should not use the maximum pressure printed on the sidewall. An NHTSA service bulletin says the same about the number on the tire itself.
Front and rear can differ. Many cars list different front and rear pressures. The spare often differs too; compact temporary spares commonly need much more pressure than the road tires, and the placard says so. If there is no spare, the placard says “none.”
Different tires than the originals? If you have changed tire size or switched to light-truck (LT) tires, the placard may no longer apply directly. Ask the tire shop that fitted them for the correct pressure.
Step 2: check cold
Pressure rises as tires warm up from driving, so readings taken after a drive come out high. Continental Tire defines cold as parked at least three hours, or driven less than a mile at moderate speed. First thing in the morning, before you drive, is the easy way to get it right.
If you have to check warm (say, at a gas station mid-trip), do not let air out of a tire that reads high. Note the reading, top up any tire that is low even when warm, and recheck cold later.
Step 3: measure each tire
- Park on level ground, engine off, parking brake on.
- Remove the valve cap and put it somewhere you will not lose it.
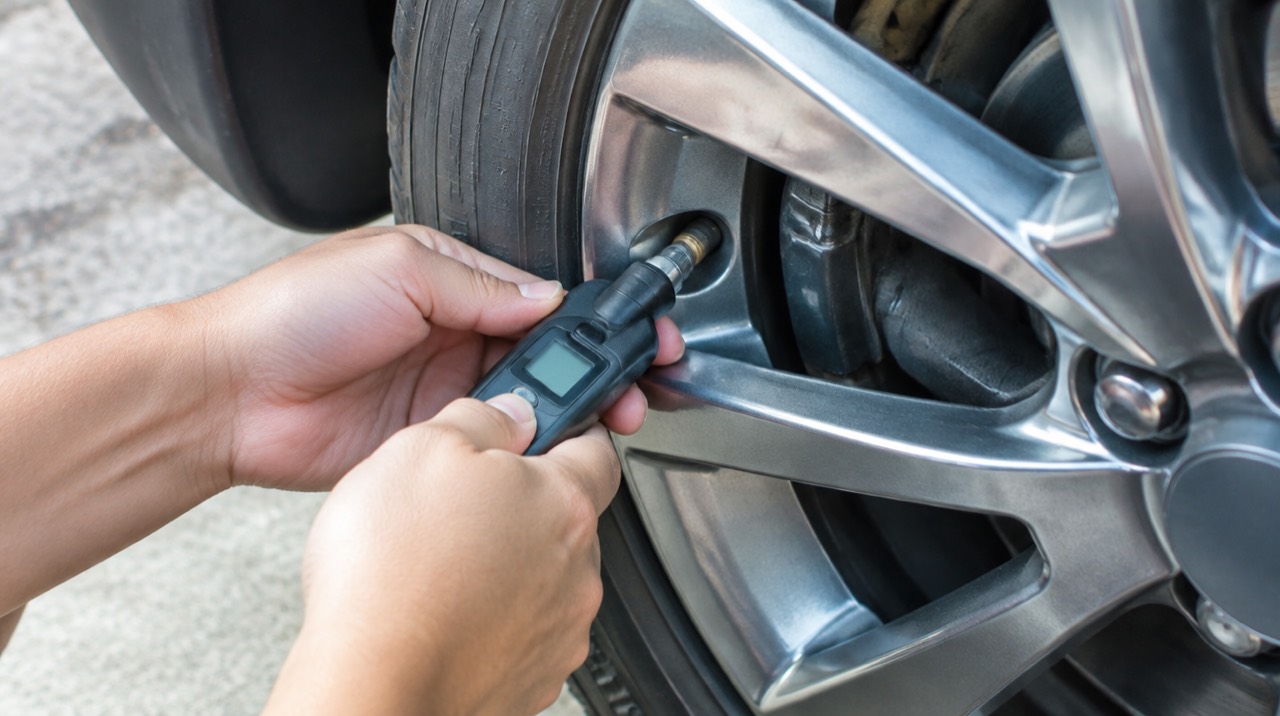
- Press the gauge straight and firmly onto the valve stem. A short hiss as you seat it is normal; a continuous hiss means it is not seated.
- Read the pressure. If the reading looks wrong, reseat and measure again.
- Write it down for each tire, including the spare if it is inflatable.
Any decent gauge works: a stick gauge, a dial gauge or a digital one. Inflator gauges are convenient, but treat their accuracy claims (often ±1 PSI) as maker claims and cross-check against a separate gauge now and then. Tire inflator accuracy goes into how far off they can be.
Step 4: add or let out air
To add air, use a gas-station air hose, a cordless inflator or a 12V compressor. Add in short bursts and recheck; it is easy to overshoot with a fast inflator. Inflators with auto-stop let you set the placard figure and walk away, but verify the result with your gauge.
To let air out, press the small pin in the center of the valve stem with the back of the gauge or a fingernail for a second or two, then recheck.
Replace every valve cap. They keep dirt and moisture out of the valve core.
Why the sidewall number is not the target
The sidewall figure is the most pressure that tire is designed to hold, across every vehicle it might be fitted to. Your car’s maker picked a lower pressure to balance grip, braking, ride, tread wear and fuel use for that specific vehicle and load. Inflating to the sidewall maximum typically makes the contact patch smaller and the ride harsher.
Underinflation has costs too. FuelEconomy.gov estimates that keeping tires at the proper pressure improves gas mileage by 0.6% on average, up to 3% in some cases, and that mileage drops about 0.2% for every 1 PSI drop in average pressure. Underinflated tires also flex more, run hotter and wear the shoulders faster.
Temperature and the TPMS light
Air pressure follows temperature. Continental Tire puts the change at about 1 PSI for every 10°F; Cooper Tire says 1 to 2 PSI per 10°F drop. A 40-degree overnight drop can therefore take a tire 4 PSI or more below where you set it in the warm.
That is often what triggers the tire pressure monitoring system (TPMS) light on the first cold morning of autumn. Under FMVSS 138 (49 CFR 571.138), the warning must come on when a tire is 25% or more below the placard cold pressure. On a car whose placard says 35 PSI, that is about 26 PSI, well below where the tire should be. TPMS is a warning that you are already low, not a substitute for a monthly check. Tire pressure light in cold weather covers resets and false alarms.
Do not over-inflate in winter to compensate. Set to the placard figure when the tires are cold at the temperature you are actually driving in.
Heavy loads, towing and road trips
Some owner’s manuals give a second, higher pressure for carrying a full load or towing, and some placards on trucks and SUVs list pressures for the maximum load. If you are loading the car for a family trip or hitching a trailer, read the tire section of the manual before you go, set the pressures cold at home, and check again at the first fuel stop only for obvious drops (remember the tires will read warm).
A quick visual check at every stop still helps: look for a tire that sits visibly lower than the others, bulges on the sidewall, or nails in the tread. A slow leak caught at a rest stop is a plug repair; caught 100 miles later, it can be a ruined tire. How to plug a tire and reinflate covers the roadside fix, and an emergency car kit checklist lists what to carry.
Tools that make it easy
You need only a gauge and a way to add air. If you want an inflator you can keep in the car, a small cordless unit with auto-stop makes monthly checks quick. These are bonus-commission brands, and they suit cars and small SUVs, not RV or LT truck tires.
Featured (disclosed relationship)
WOLFBOX HyperFlow19 cordless inflator. Listed at 1 lb with 150 PSI max, a claimed 30 to 35 PSI fill on a 195/65R15 in about a minute, up to 9 tire top-ups per charge, onboard storage for a Presta adapter, ball needle and two plug-repair strips, and a 2-year warranty. Small enough to live in a door pocket.

Not for: tires wider than about 235 mm (WOLFBOX’s stated limit), pickups or RVs, or anyone filling flat tires from near zero regularly.
Featured (disclosed relationship)
Birtokom T05-E cordless inflator. 150 PSI, a 6,000 mAh battery, a claimed 30 to 35 PSI fill in 60 seconds and up to 12 car-tire top-ups per charge per the maker’s own test, with more than 15 minutes of continuous running and four nozzles.
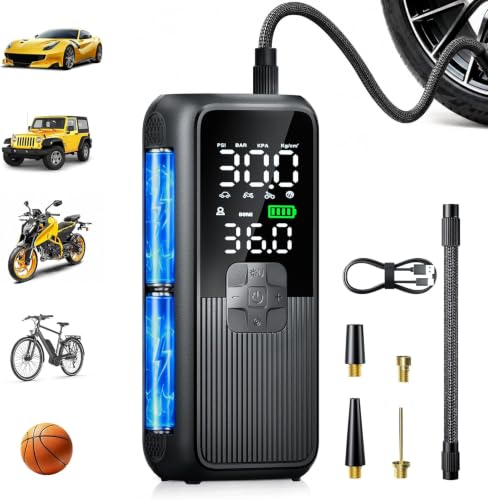
Not for: truck or RV tires, or buyers who want an established brand with a long service history.
For a non-campaign alternative, the AstroAI L7 lists up to 8 top-ups (30 to 36 PSI) per charge and is not for tires larger than 25 inches. Whether to go cordless or plug-in is covered in cordless vs 12V tire inflator, and the full roundup is best tire inflator. Step-by-step use is in how to use a portable tire inflator.

Mistakes to avoid
- Inflating to the sidewall number.
- Checking right after a drive and letting air out of a warm tire.
- Trusting the TPMS light instead of checking monthly.
- Forgetting the spare, then finding it flat on the shoulder.
- Using the same pressure front and rear when the placard lists different numbers.
- Ignoring one tire that keeps dropping. Steady loss in one tire usually means a puncture or a leaking valve; have it inspected.
Quick checklist
- Once a month and before trips, tires cold.
- Placard numbers for front, rear and spare.
- Gauge on, read, adjust, recheck, caps back on.
- Recheck after the first cold snap of the season.
Frequently asked questions
Where do I find the correct tire pressure for my car?
On the tire and loading information placard, which federal rules require on the driver's side door pillar (B-pillar) in most vehicles, or on the rear edge of the driver's door if the pillar won't work. It is also in the owner's manual. FuelEconomy.gov notes some vehicles put it in the glove box.
Should I inflate my tires to the PSI on the sidewall?
No. The number molded on the sidewall is the tire's maximum pressure, not the right pressure for your vehicle. FuelEconomy.gov and NHTSA both say to use the vehicle's recommended pressure instead.
Should I check tire pressure hot or cold?
Cold. Continental Tire defines cold as parked at least three hours or driven less than a mile at moderate speed. Driving warms the air and raises the reading, so a hot reading will look higher than the true cold pressure.
How often should I check tire pressure?
At least once a month and before long trips, including the spare if it is inflatable. Tires lose air slowly even when nothing is wrong, and cold snaps drop pressure further.
Why is my tire pressure light on when the tires look fine?
A tire can be well below spec before it looks low. The federal TPMS rule (FMVSS 138) requires a warning when pressure falls 25% or more below the placard pressure, so by the time the light comes on, the tire has already been low. Check all four with a gauge.
Does cold weather lower tire pressure?
Yes. Continental Tire says pressure shifts about 1 PSI for every 10°F change in temperature; Cooper Tire says 1 to 2 PSI per 10°F drop. A cold morning after a warm week can trigger the TPMS light.
Keep planning
- What Size Jump Starter Do I Need? Amps by Engine and Climate
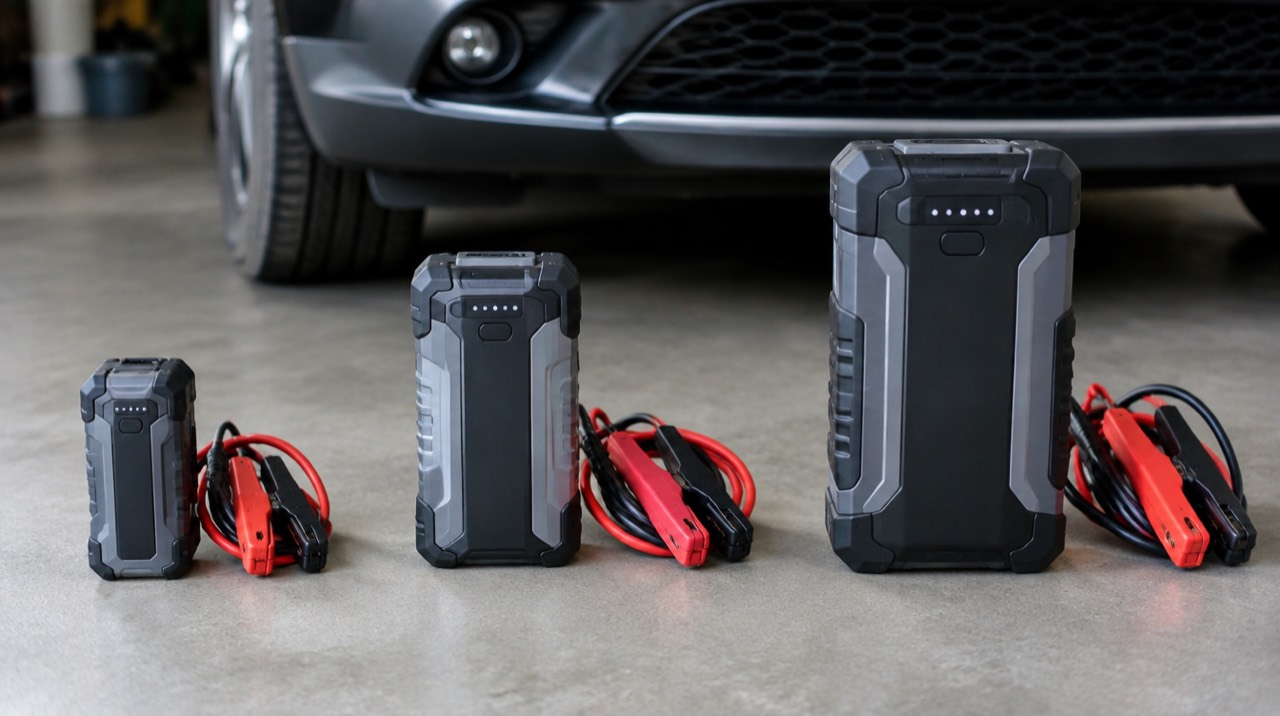
What size jump starter do you need? Match the maker's gas or diesel engine rating to your displacement, then size up for cold climates. Tables and examples inside.
Updated Nov 2026 - How to Use a Jump Starter: Step-by-Step Instructions
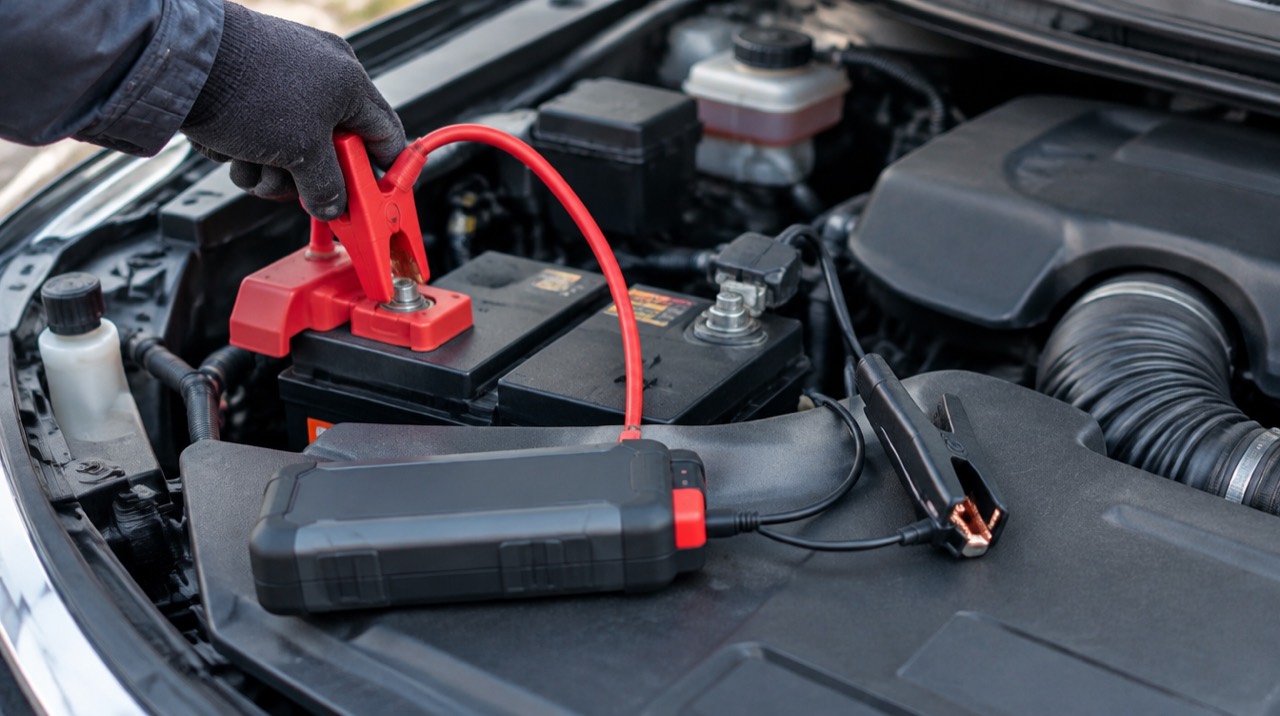
How to use a jump starter or jump box, step by step: clamp order, how long to crank, rest between tries, boost mode and lithium safety, from the manuals.
Updated Nov 2026 - Do Jump Starters Work in Cold Weather? Winter Tips for Lithium Packs
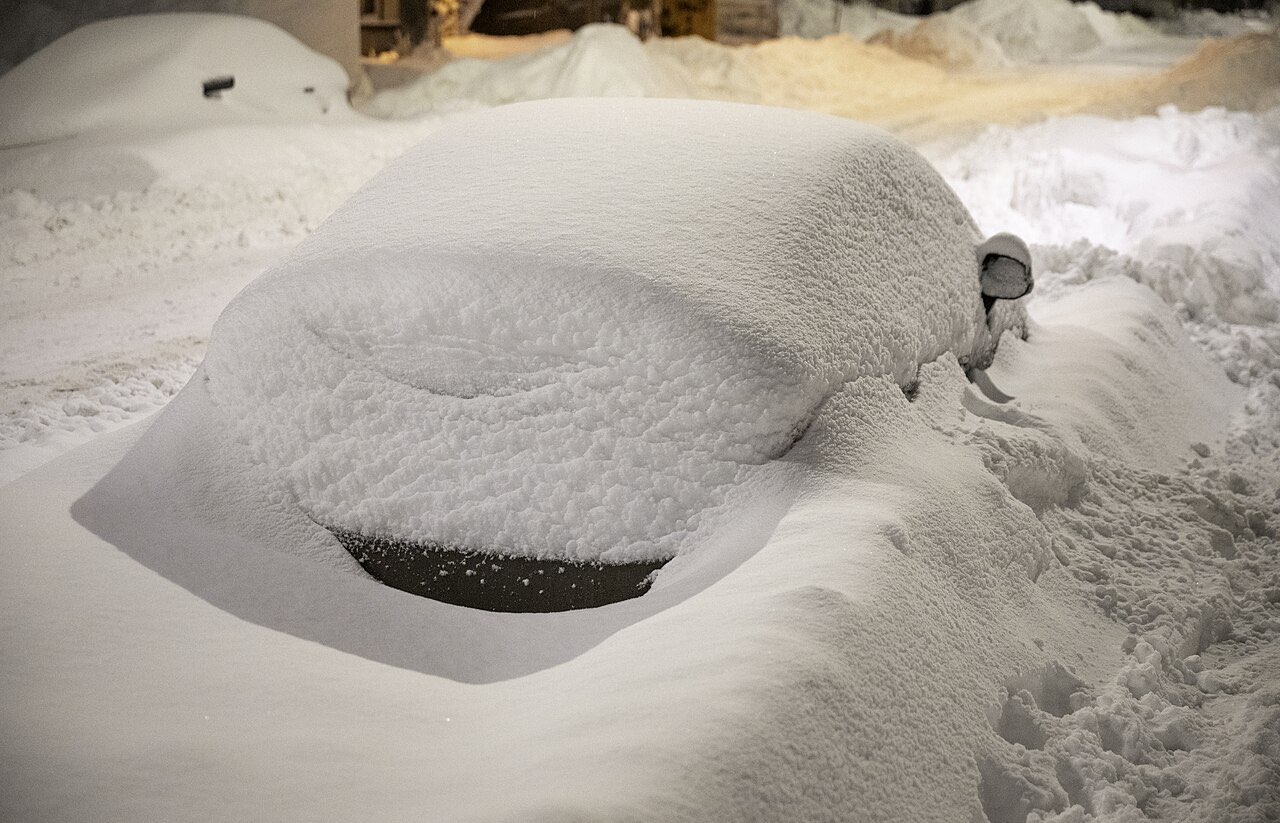
Do lithium jump starters work in cold weather? Yes, within limits: operating vs charging temperatures, sizing up for winter, storage and a pre-freeze checklist.
Updated Nov 2026